Description
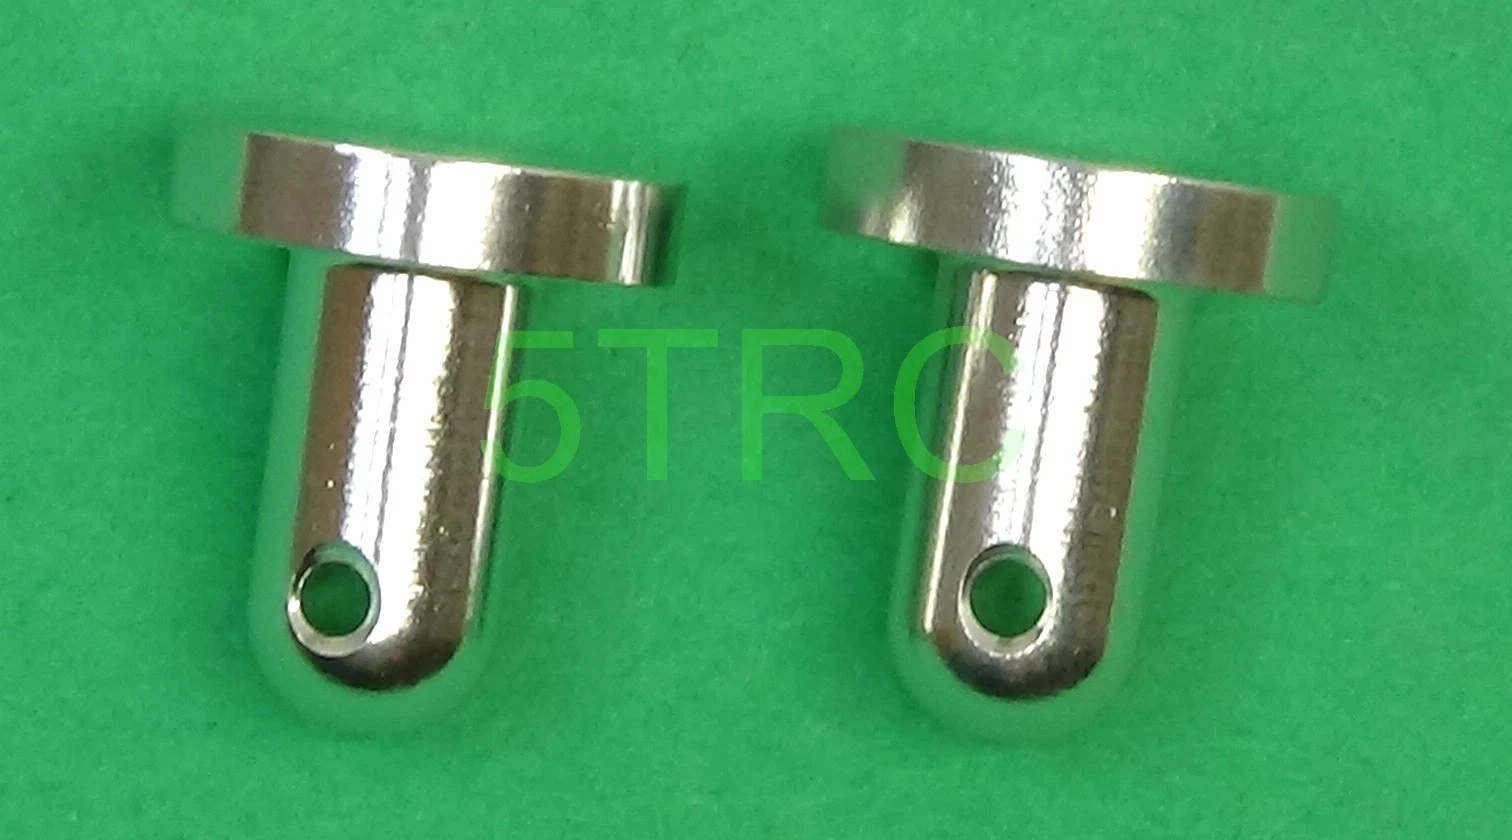
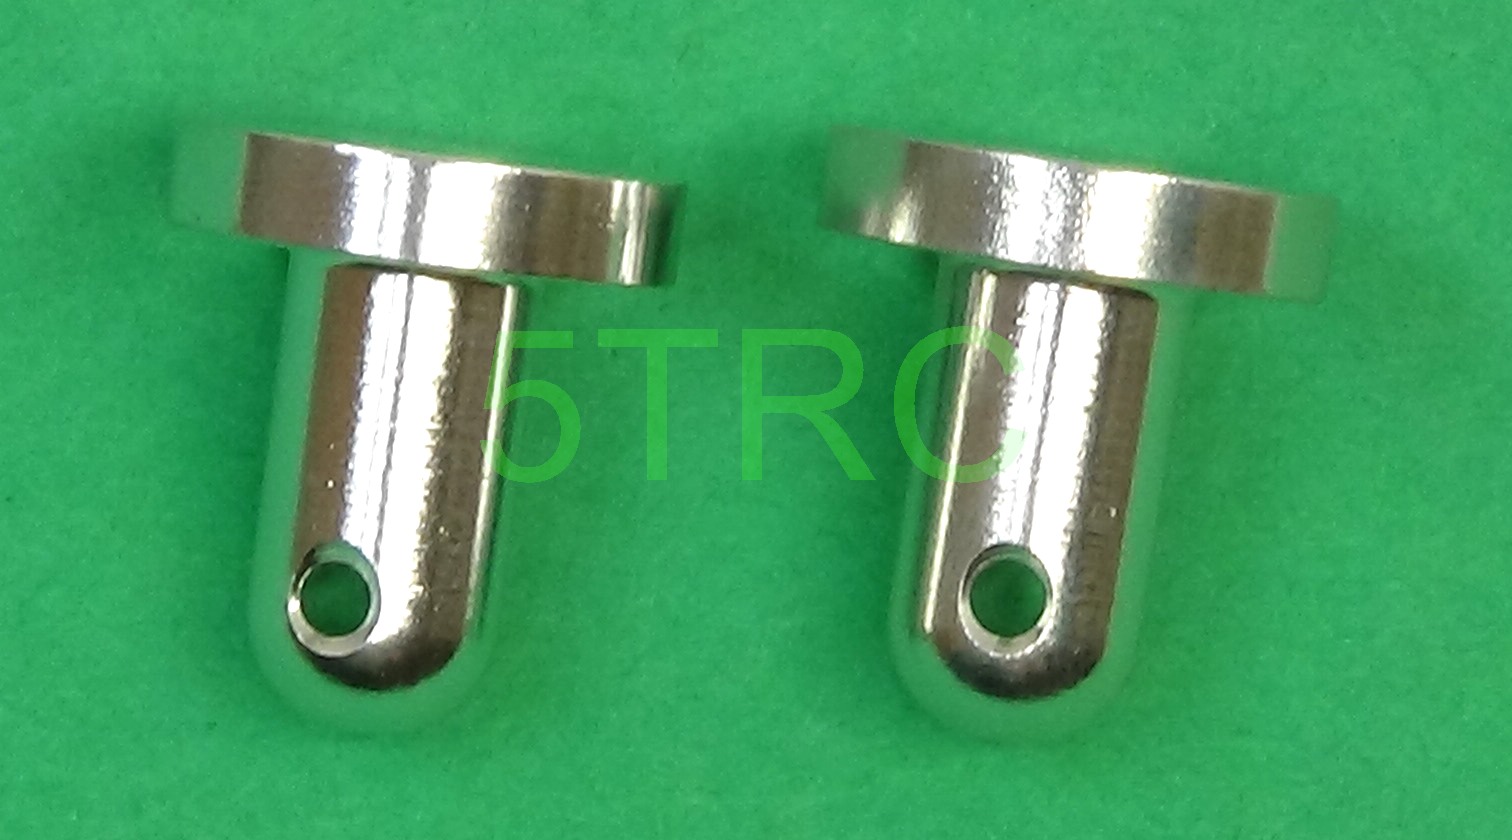
Rofun 5B CNC Aluminum Rear Radio/Servo Box Mounting Pins in Silver
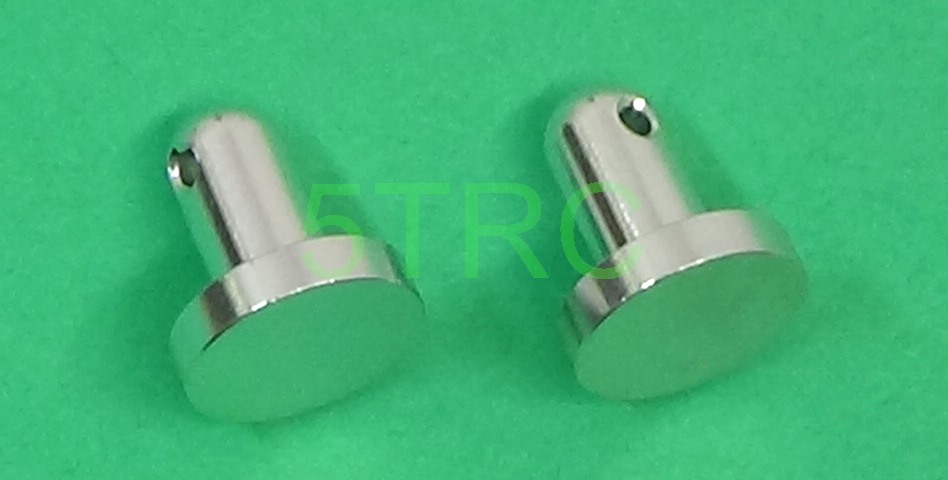
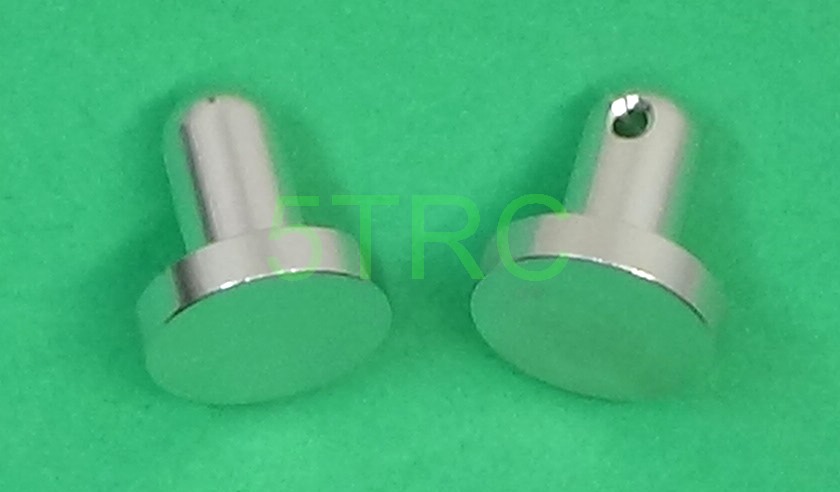
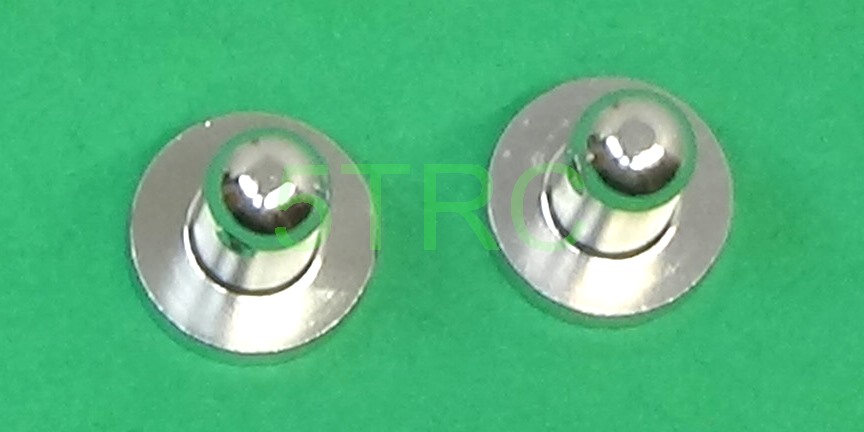
Set of two silver CNC aluminum mounting pins for the rear of the radio and servo box on compatible 1/5 scale Baja vehicles.
Product Details
| Brand | Rofun |
| Part Reference | RV95238 |
| Part | Rear radio / servo box mounting pins |
| Quantity | Set of 2 |
| Material | CNC aluminum |
| Color | Silver |
| Position | Rear radio / servo box mount |
| Compatible Vehicles | HPI Baja 5B and 5T, including SS 2.0; Rovan and King Motor 1/5 scale Baja buggies and trucks |
| Maintenance | RC tool kits and setup tools |
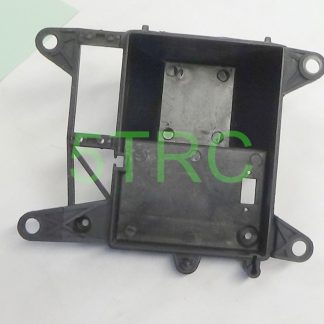
Rear Radio and Servo Box Mount
These pins secure the rear mounting points of the radio and servo box assembly. Compare them with the original pins and confirm that the mounting holes align before installation.
Installation Notes
Install both pins evenly without forcing the mounting points or twisting the box. Confirm that the box sits securely and does not bind nearby linkage or wiring. Recheck the mounting hardware after the first run.
General Rofun Vehicle Guidance
The following sections cover complete gasoline RC vehicles and applicable accessories. Equipment varies by model. This guidance does not mean that a vehicle, radio, battery, body or other accessories are included with this item.
Disclaimer and Safety Notice
5TRC sells Genuine Rofun products through 5TRC.com and eBay without an express or implied warranty.
Exhaust components can cause severe burns when handled improperly. Improper operation of an RC vehicle can cause serious injury or death through impact with the operator, bystanders or pets. Operate responsibly and keep people and animals clear of the vehicle.
Maintenance and Setup
Large-scale gasoline RC cars require regular adjustment, maintenance and mechanical work. Inspect the vehicle before operation and apply thread-locking compound to appropriate metal-to-metal fasteners. RC tool kits and setup tools can help with routine maintenance and adjustments.
Use the engine manufacturer’s initial carburetor settings during break-in. Stop and correct unsafe lean running or uncontrolled idle before continuing. Make final performance adjustments after break-in.
Rofun Car and Truck General Assembly and Operation
Out of the box: Install the wheels and charge the car battery before operation. Charge using the instructions for the installed battery and its compatible charger.
Battery charging: Use a charger suitable for the battery chemistry, voltage and connector. Follow its charge-completion indicator and disconnect when charging is complete. Do not charge unattended. Allow a warm battery to cool before use. Follow the battery instructions for storage. We use a countdown timer. A countdown timer does not replace charger supervision or automatic charge termination.
After a crash: Inspect the vehicle, steering, brakes, fuel system and radio operation before continuing.
Fuel Mixing
Use a 25:1 gasoline-to-oil ratio, equal to 5.12 US fluid ounces (151.4 ml) of oil per US gallon of gasoline. If using the included mixing jug, fill the small compartment to the 25:1 line with oil, then fill the gas compartment to the 25:1 line. You may also find a 2 stroke oil measuring cup to be handy. Use non-synthetic, mineral-based two-cycle oil. Other brands can also work.
Oil product information: Evinrude Johnson TC-W3 mineral oil and Evinrude Johnson XD30 oil. Follow your engine manufacturer’s oil specifications when selecting a product.
Radio and Starting Instructions
Radio: Channel count, controls and adjustment locations vary by transmitter. Use the manual for the radio installed in your vehicle to set steering trim, throttle and brake trim, travel limits and failsafe.
Starting: Turn on the radio and car and confirm that both respond correctly.
Move the red choke lever on the carburetor to the vertical closed position.
Press the primer bulb 3 to 4 times, or until you see fuel.
Pull the starter rope gently until it engages, then pull swiftly. Use short, quick pulls and do not pull the rope to its full extension.
Crank until the engine fires, usually within 1 to 3 pulls. Never crank more than 3 times with the choke on.
Turn the choke off, then pull the starter 1 to 2 times to start the engine.
Break-In Process
Initial run: Run the car at idle to 1/4 throttle or less for about 5 minutes, then let the engine cool completely.
Second run: Repeat for 10 minutes, then let the engine cool completely.
Third run: Increase gradually to half throttle. A new engine creates extra heat from friction. Run for 8 to 10 minutes, then let it cool completely.
Subsequent runs: Continue for about five runs. Keep debris away from the cooling system because a clean engine runs cooler.
Final break-in: After the engine completes the required break-in, introduce brief full-throttle runs gradually and avoid prolonged heavy loading. Check for loose bolts and debris between runs.
Post break-in: Check and snug the exhaust pipe after the initial break-in process.
Before each run: Check bolts throughout the car. Use threadlocker on appropriate clutch and brake assembly bolts. Clean bolts and holes with alcohol and a cotton swab to improve threadlocker adhesion.
Failsafe and Servo Protection
Set and test the receiver failsafe before operating the vehicle. A braking failsafe can hold the throttle/brake servo under load when the transmitter signal is lost. Do not leave the vehicle powered on with the transmitter off. Continuous servo load can cause overheating or damage. Turn on the transmitter before the vehicle, and turn off the vehicle before the transmitter.
5TRC Rofun 29-45cc Engine Temperature Guidelines
Check a Rofun air-cooled 2-stroke gasoline engine at the cylinder head near the spark plug. Use a Digital Infrared Thermometer to monitor temperature.
Normal operating temperature: 5TRC uses a reference operating range of 230°F to 280°F (110°C to 138°C). Normal driving can produce temperatures from 250°F to 280°F. Allow about 3 to 5 minutes of actual driving for warm-up before making final carburetor adjustments.
Temperature alarm: If your vehicle has temperature telemetry, set a high-temperature warning at 300°F (149°C). This setting provides an early warning when the engine begins running hotter than normal.
High Temperature and Lean Running
Maximum recommended temperature: At about 300°F, reduce throttle immediately. Stop the vehicle if the temperature does not quickly decrease. Continued operation above this level can damage the piston, cylinder or rings.
Running lean: An excessively lean carburetor setting can raise engine temperature rapidly. Other warning signs include unusually high RPM, hesitation, loss of power under load, rising temperature, or RPM that stays high after releasing the throttle. Do not rely only on a temperature sensor because the piston can overheat before the cylinder-head sensor shows the full increase.
After a hard run: After extended high-speed or heavy-load operation, let the engine idle for about 30 seconds before shutting it off.
5TRC recommended settings: Reference operating range: 230°F to 280°F. Temperature alarm: 300°F. Stop and inspect if temperature remains at or above the 300°F warning, or if lean-running symptoms appear. Normal warm-up time: 3 to 5 minutes of driving.
Ownership and Compatibility
These are Genuine Rofun Hobby and Racing Grade RC vehicles, not full-size turnkey automobiles. Owners should expect routine maintenance, adjustments and occasional repairs. New large-scale RC owners should seek help from an experienced hobbyist, hobby shop, friend, club or social-media group when needed.
We do not accept returns because a buyer is uncomfortable performing normal adjustments or maintenance. If you are not mechanically inclined and do not have someone available to help, learn what large-scale RC ownership involves before buying.
Compatibility Notice: References to other brands or models indicate possible compatibility only and do not guarantee fitment. Parts from different manufacturers are not necessarily interchangeable, even when made for the same vehicle. Verify measurements, specifications and compatibility before ordering or installation. We cannot accept returns after installation, modification, bending, stretching, drilling, damage or test-fitting to incompatible parts.
Painting the Clear Body
Paint the inside of the body using Tamiya polycarbonate PS paint for proper adhesion and durability.
For a deeper metalflake appearance, apply a very light coat of clear and then sprinkle a glitter additive, metalflake, or pearl while the paint remains wet. Back it with your preferred colors for a stronger finish.
Practice the painting process first on a scrap piece of plexiglass. Many local lumberyards can provide small leftover or damaged pieces for paint testing.
Test the complete paint combination on a scrap of the same polycarbonate material before painting the body.
Product Pictures
Product images may not accurately represent the exact color of the model purchased. They illustrate mechanical features. Some listings may display other items or cars for reference. The listing does not include those reference items unless stated. Although we do our best to make every listing accurate, AI-assisted listing work can occasionally introduce inaccurate details or specifications. Please contact us with questions, comments or inaccuracies you notice.
Some of our items may include links to products on Amazon. As an Amazon Associate, I earn from qualifying purchases.
Questions? Text-to-eMail: 937-627-0005 Phone 937-205-6312
5TRC, USA’s #1 Rofun Distributor.