Description
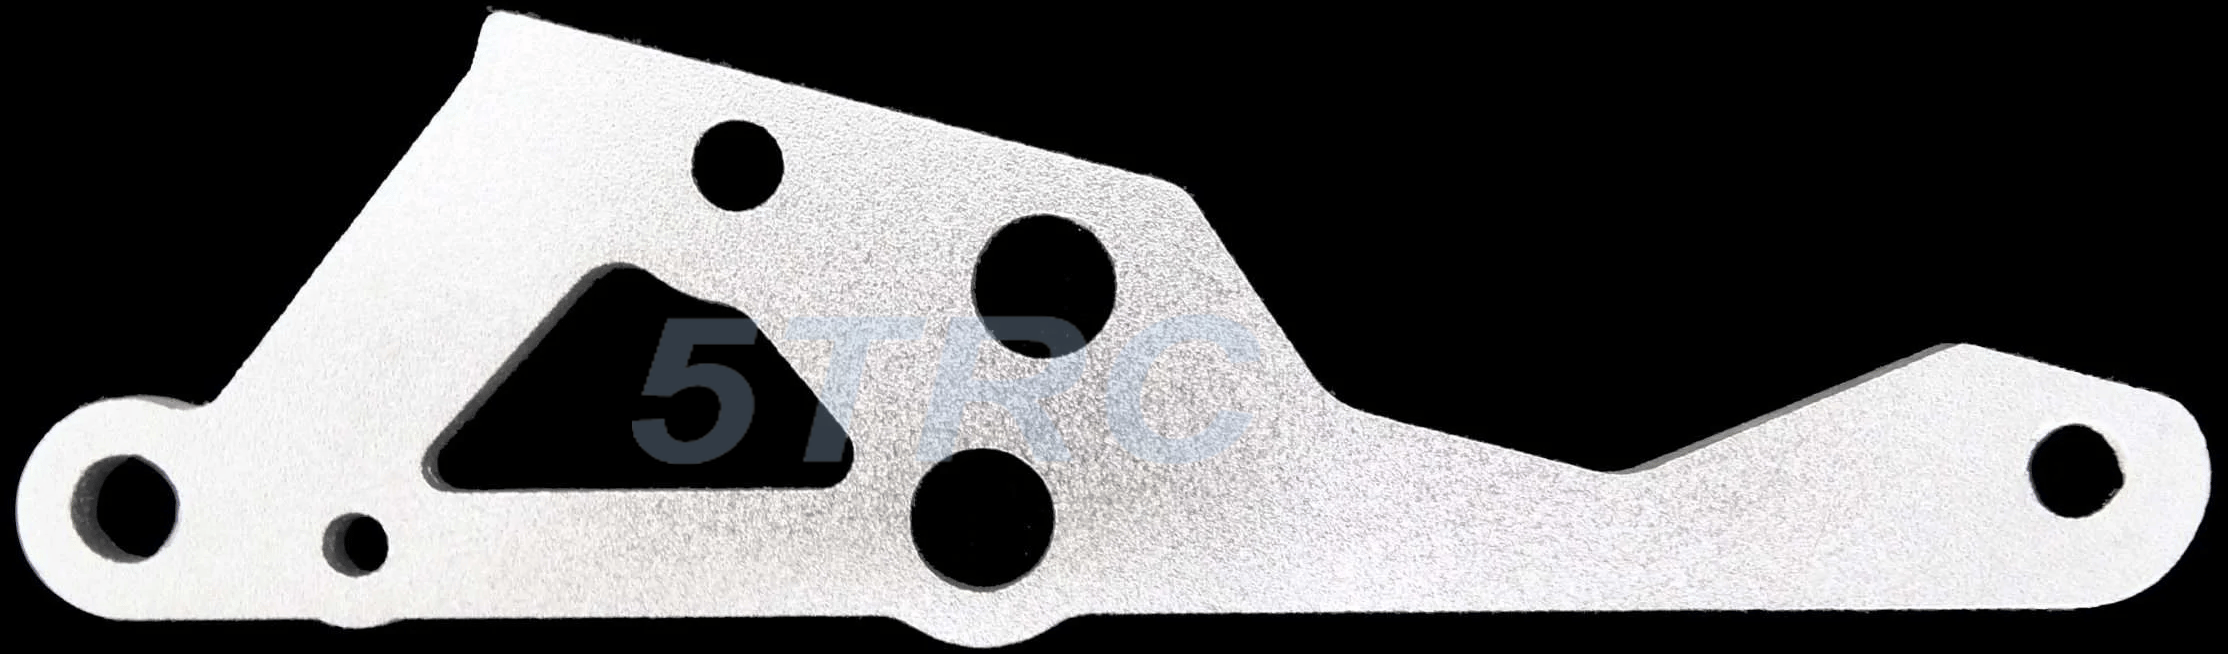
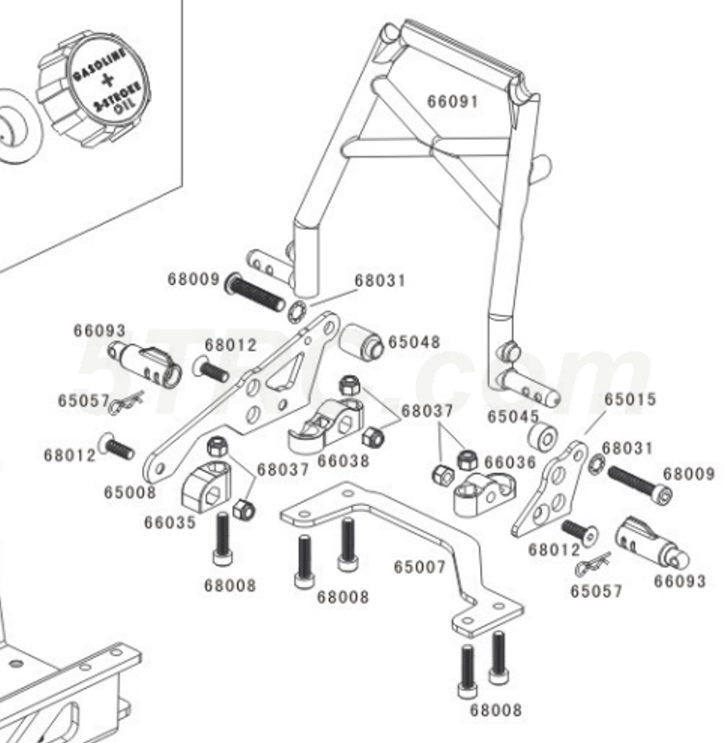
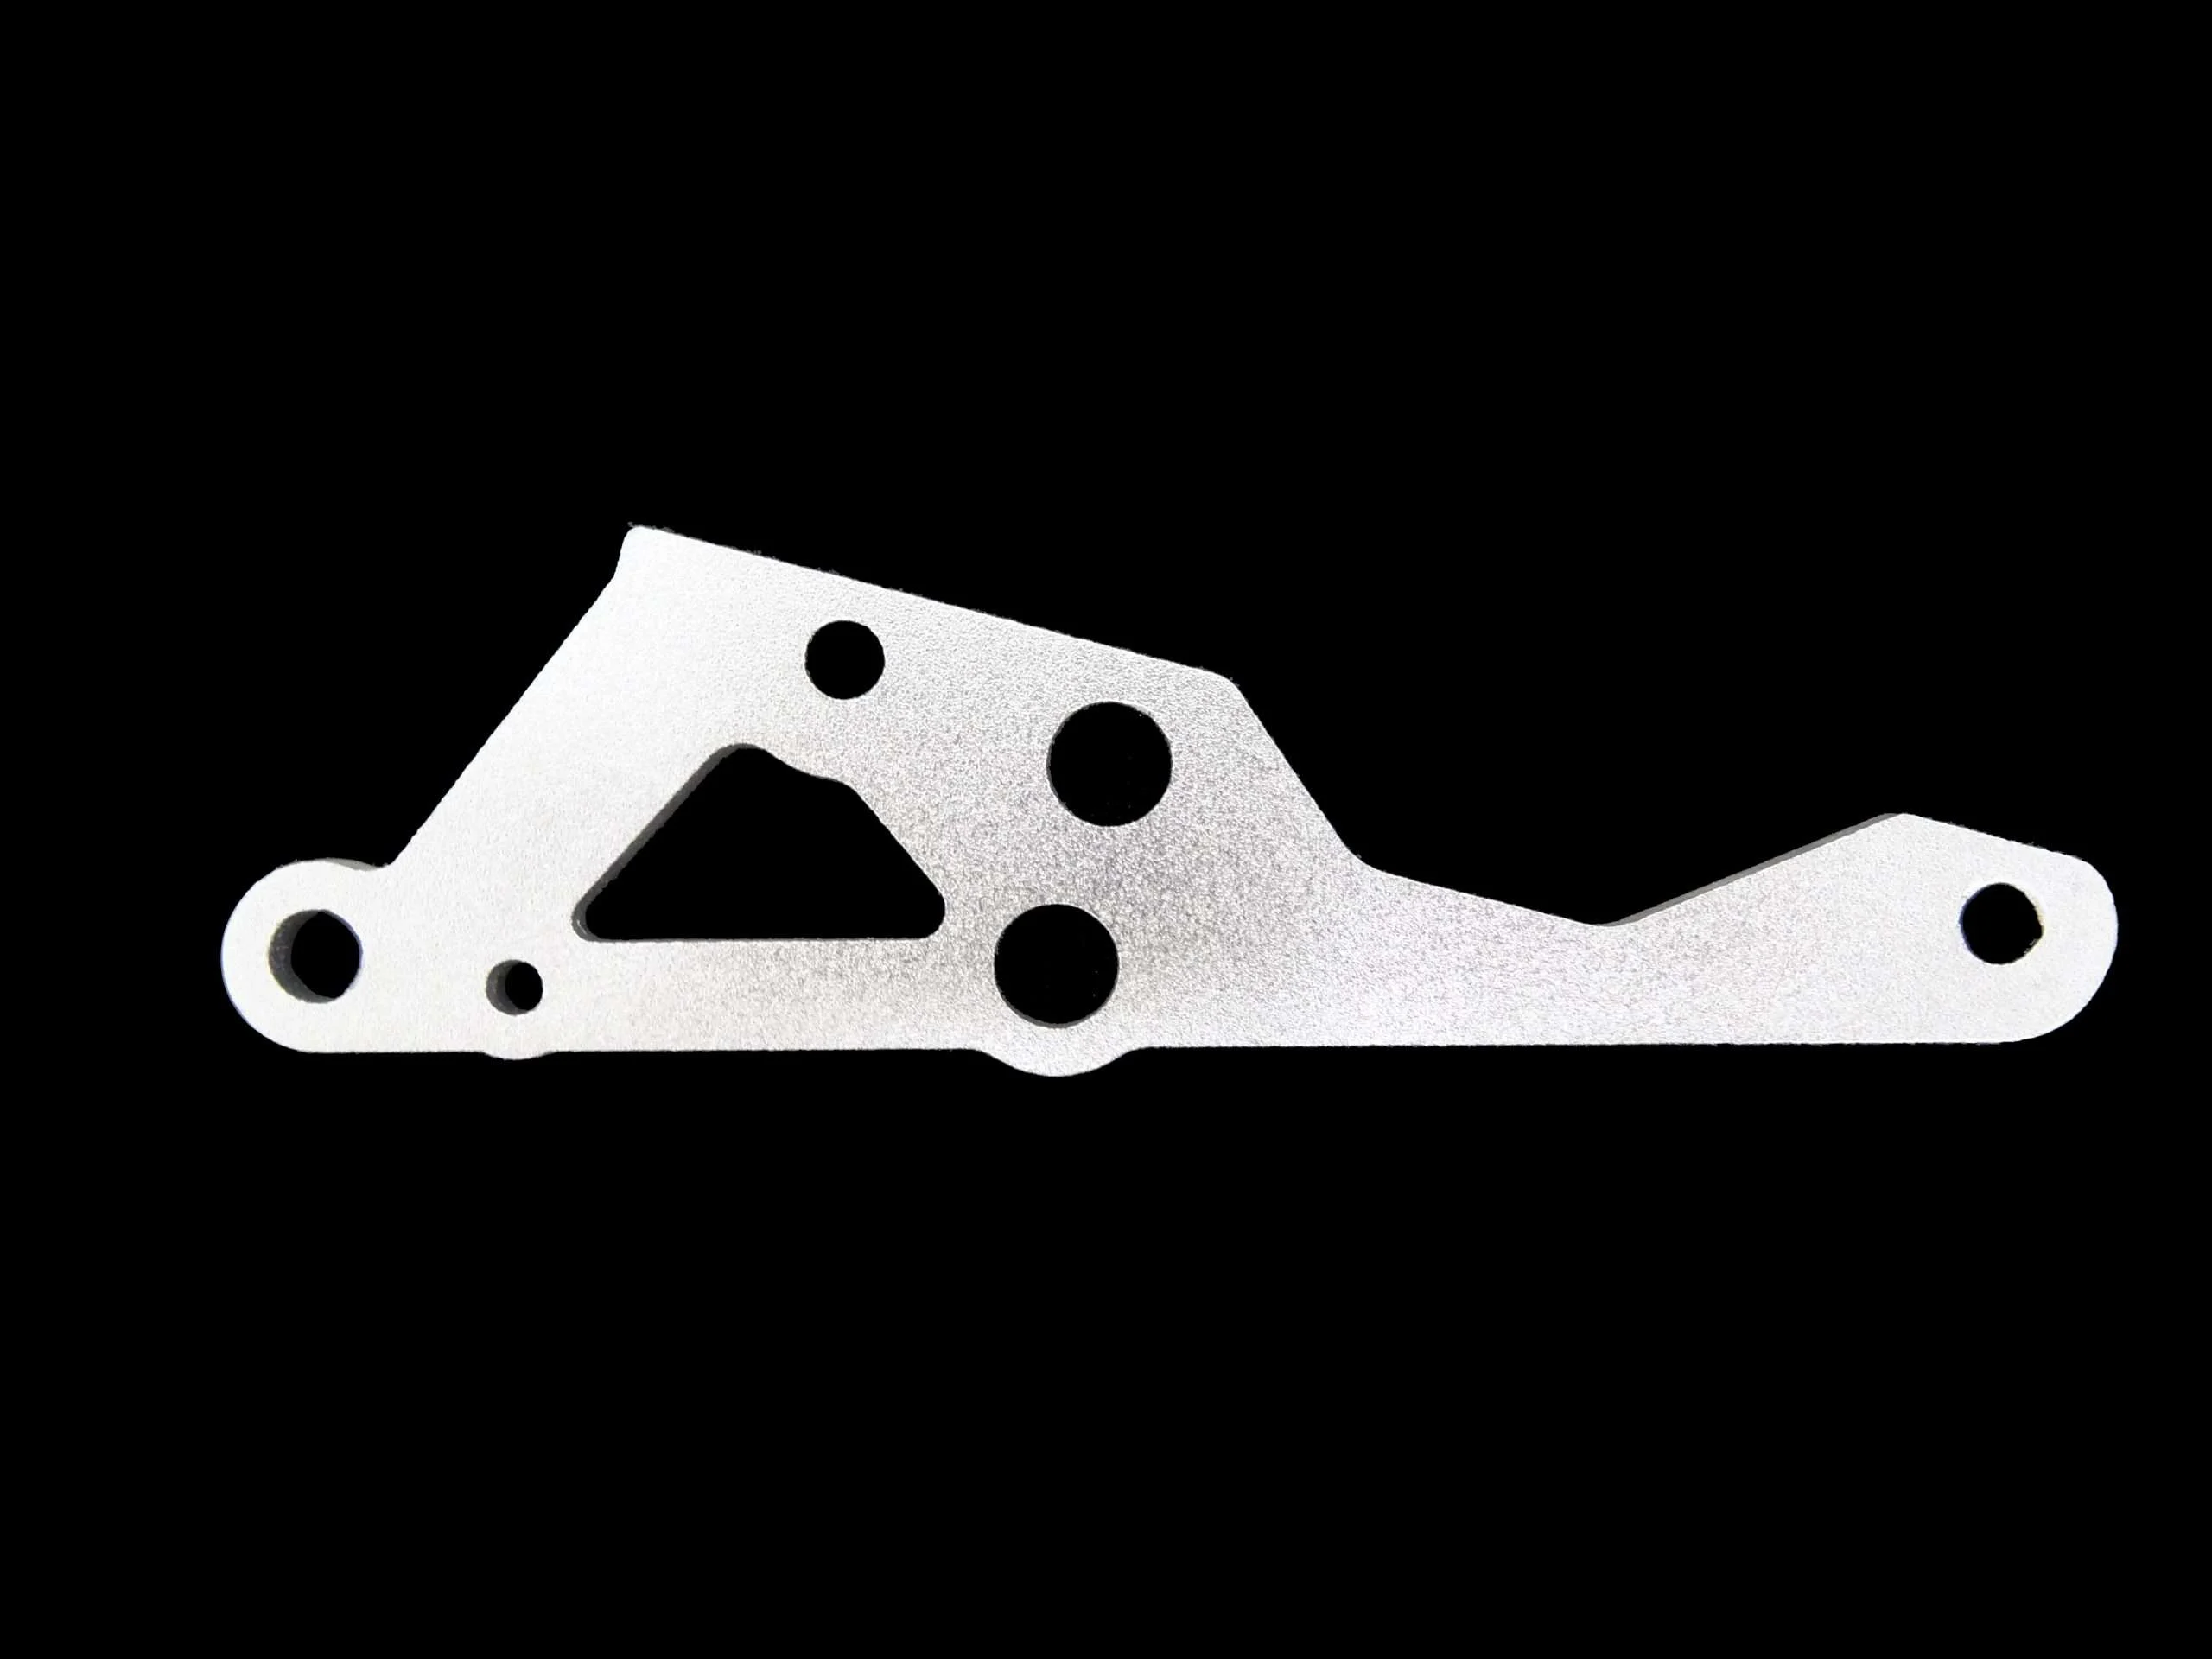
Rofun 5B Right Aluminum Engine Plate
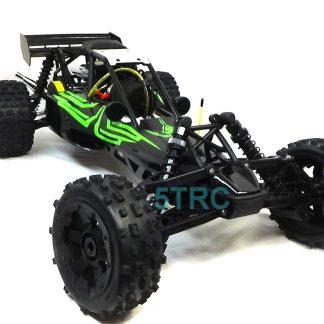
Right side aluminum engine plate for Rofun Baja 5B style buggies.
Product Details
- Part number: 5TRC65008R
- Component: 5B Right Aluminum Engine Plate
Vehicle Fitment
- Baja 5B style 1:5 scale RC buggies
Disclaimer and Safety Notice
All items offered by 5TRC are Brand New. 99.9% of our customers experience no issues with the products. If you are new to the hobby, we strongly encourage you to watch our instructional videos available through YouTube. 5TRC sells Genuine Rofun products through 5TRC.com and eBay without an express or implied warranty. Enthusiasts commonly customize and modify these vehicles, so 5TRC sells these products without guarantees of any kind. For purchases made through eBay, eBay Money Back Guarantee coverage may apply.
Exhaust components can cause severe burns when handled improperly. Improper operation can also cause serious injury or death through impact with the operator, bystanders or pets. By purchasing this product, you agree to hold harmless 5TRC from liability for accidents, injuries or damages resulting from use or misuse.
Maintenance and Setup
Large-scale gasoline RC cars require regular adjustment, maintenance and mechanical work. New vehicles may need minor adjustments to the servo horn, carburetor, camber and other components. Many experienced owners inspect or disassemble the entire vehicle before the first run and apply thread-locking compound to appropriate metal-to-metal fasteners. RC tool kits and setup tools can help with routine maintenance and adjustments.
Rofun Car and Truck General Assembly and Operation
Out of the box: Install the wheels and charge the car battery before operation. Charge using the instructions for the installed battery and its compatible charger.
Battery charging: Use a charger suitable for the battery chemistry, voltage and connector. Follow its charge-completion indicator and disconnect when charging is complete. Do not charge unattended. Allow a warm battery to cool before use. Follow the battery instructions for storage. We use a href=”https://link.amazon/B0hHLevm0″>countdown timer. A countdown timer does not replace charger supervision or automatic charge termination.
Included USB Ni-MH Battery Charger:
Connect the charger to a 5V USB power source. Connect the white plug to the Rofun 6V Ni-MH battery. Flashing Red light: Battery is charging. Green light or no light: Battery is fully charged. This charger is rated at 7.2V, 300mA output and is for Ni-MH batteries only. Do not use it with LiPo or Li-ion batteries. Rofun identifies red as charging and green or no light as charged for this charger type. Need a spare? order Part Number: 5TRC69033
Crash Durability: Minor crashes are not likely to damage the vehicle beyond some cosmetic scuffs and scratches. However you should inspect the vehicle, steering, brakes, fuel system and radio operation before continuing after a crash.
Fuel Mixing
Use a 25:1 gasoline-to-oil ratio, equal to 5.12 US fluid ounces (151.4 ml) of oil per US gallon of gasoline. If using the included mixing jug, fill the small compartment to the 25:1 line with oil, then fill the gas compartment to the 25:1 line. You may also find a 2 stroke oil measuring cup to be handy. Use non-synthetic, mineral-based two-cycle oil. Other brands of oil can also work. Use low octane pump gas. Higher octane fuels only make your engine run hotter and more prone to heat related failure. Higher octane does not make your car run better or faster. Avoid high octane premixes formulated for high end modified engines.
Oil product information: Evinrude Johnson TC-W3 mineral oil and Evinrude Johnson XD30 oil. Follow your engine manufacturer’s oil specifications when selecting a product.
Radio and Starting Instructions
Radio: Channel count, controls and adjustment locations vary by transmitter. Use the manual for the radio installed in your vehicle to set steering trim, throttle and brake trim, travel limits and failsafe.
Starting: Turn on the car, then turn on the transmitter and ensure that both respond correctly.
You should have right and left steering. The steering should be centered when transmitter wheel is released. Apply the brake and attempt to roll car to test the brakes.
1. Move the red choke lever on the carburetor to the vertical closed position.

2. Press the primer bulb 3 to 4 times, or until you see fuel.
3. Pull the starter rope gently until you feel it engage, then pull swiftly. Use short, quick pulls and do not pull the rope to its full extension.
4. Crank until the engine fires, usually within 1 to 3 pulls. NEVER CRANK THE ENGINE MORE THAN 3 PULLS WITH THE CHOKE ON.
5. Turn the choke off, then pull the starter 1 to 2 times to start the engine.
Break-In Process
Initial run: Run the car at idle to 1/4 throttle or less for about 5 minutes, then let the engine cool completely. You may need to adjust the idle screw.(the big screw not the 2 side by side jet screws) Do not adjust the jet screws. A high idle setting is ok while breaking in.
Second run: Run the car at idle to 1/4 throttle or less for about 10 minutes, then let the engine cool completely.
Third run: Increase gradually to half throttle. A new engine creates extra heat from friction. Run for around 10 minutes, then let it cool completely. ,
Subsequent runs:Repeat this for about five more runs. Allow it to cool completely between runs. Keep debris away from the cooling system because a clean engine runs cooler.
Final break-in: After the engine completes the required break-in, introduce brief full-throttle runs gradually and avoid prolonged heavy loading. Be sure to let the engine idle a minute or so after hard runs before stoipping to insure proper cooling.
Post break-in: Snug the exhaust pipe after the initial break-in process. Keep bolts snug and remove debris between runs.
Before each run: Keep bolts throughout the car snug. We recommend thread locker on appropriate clutch and brake assembly bolts. Clean bolts and holes with alcohol and a cotton swab to improve thread locker adhesion.
Carburetor adjustments: Jet screw adjustments should generally be avoided until the engine is properly broken in, usually after at least three tanks of fuel. When adjusting jets your engine should be at operating temperature and you should only adjust 1 jet at a time turning only 1/32 to 1/16 turn at a time and then running 2 minutes to see the results. /
Failsafe & Servo Protection Notice: Rofun RC vehicles are equipped with an automatic braking failsafe system. This system activates whenever the receiver is powered on but not receiving a signal from the transmitter. Do not leave the vehicle powered on with the transmitter turned off. In this condition, the throttle/brake servo remains engaged continuously. Prolonged engagement will cause overheating and will destroy the throttle/brake servo. Always power on the transmitter before the vehicle, and turn off the vehicle before shutting down the transmitter.
5TRC Rofun 29-45cc Engine Temperature Guidelines
Measure engine temperature at the cylinder head near the spark plug. Use a Digital Infrared Thermometer to monitor temperature.
Normal operating temperature: 5TRC uses a reference operating range of 230°F to 280°F. Normal driving can produce temperatures from 250°F to 280°F. Allow about 3 to 5 minutes of actual driving for warm-up before making final carburetor adjustments.
Measure engine temperature at the cylinder head near the spark plug. Use a Digital Infrared Thermometer to monitor temperature.
Running lean: An excessively lean carburetor setting can raise engine temperature rapidly. Other warning signs include unusually high RPM, hesitation, loss of power under load, rising temperature, or RPM that stays high after releasing the throttle. Note that the piston can overheat before the cylinder-head sensor shows the full increased temperatures. Turn high speed jet out 1/16 (richer) if you suspect engine is running too lean or too hot.
After a hard run: After extended high-speed or heavy-load operation, let the engine idle for about a minute or so before shutting it off.
Note: The main engine mounting bolts on Rofun cars have thread locker applied at the factory. Before attempting to remove them, heat them with a heat gun or a small torch to soften the thread locker. Before heating, drain all fuel from the vehicle and remove the fuel tank and surrounding plastic parts. Use high-quality allen wrenches.
Ownership and Compatibility
These are Genuine Rofun Hobby and Racing Grade RC vehicles, not full-size turnkey automobiles. Owners should expect routine maintenance, adjustments and occasional repairs. New large-scale RC owners should seek help from an experienced hobbyist, hobby shop, friend, club or social-media group when needed.
We do not accept returns because a buyer is uncomfortable performing normal adjustments or maintenance. If you are not mechanically inclined and do not have someone available to help, learn what large-scale RC ownership involves before buying.
Painting the Clear Body
Paint the inside of the body using Tamiya polycarbonate PS paint for proper adhesion and durability.
For a deeper metalflake appearance, apply a very light coat of clear and then sprinkle a glitter additive, metalflake, or pearl while the paint remains wet. Back it with your preferred colors for a stronger finish.
Practice the painting process first on a scrap piece of plexiglass. Many local lumberyards can provide small leftover or damaged pieces for paint testing.
Test the complete paint combination on a scrap of the same polycarbonate material before painting the body.
Product Pictures
Product images may not accurately represent the exact color of the model purchased. We provide them to illustrate mechanical features. Some listings may display other items or cars for reference. The listing does not include those reference items unless stated. Although we do our best to make every listing accurate, AI-assisted listing work can occasionally introduce inaccurate details or specifications. Please contact us with questions, comments or inaccuracies you notice.
Some of our items may include links to products on Amazon. As an Amazon Associate, I earn from qualifying purchases.
Questions? Text-to-eMail: 937-627-0005, Shop Phone: 937-205-6312
5TRC, USA’s #1 Rofun Distributor.